Upgrading a system is always a fun and somewhat fraught endeavor. I have a home server on which I run many different services for my home network and that I use for general experimentation, using LXC containers and KVM virtual machines.
The original incarnation of this server was built back in mid 2011, and over the years I have upgraded and added various components: I’ve added memory, more and bigger disks, switched to SSD’s for the OS drives and in turn upgraded those, added some hot swap drive bays, and more. However, the guts of the system — the motherboard and CPU — have remained unchanged, and thus have become quite long in the tooth.
I decided it was time for a comprehensive overhaul and upgrade of the system, and just completed that.
First: Spring Cleaning
This server is built in a Rosewill RSV-R4000 rackmount server chassis, which is still a very nice chassis. However, over the course of 11+ years, it has accumulated a fair bit of dust and grime. Thus, the first thing I did was to disassemble and thoroughly clean everything off.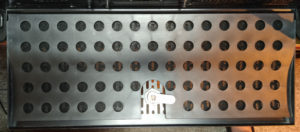
The front panel hinges down and has a dust filter (pictured at right). I pulled that dust filter out and thoroughly washed and dried it. It was pretty nasty and took a fair bit of sloshing around in a sink before the rinse water ran clear.
The entire inside of the case got a wipe down once the motherboard was removed. Next, I removed the drive cages and drives and cleaned them all. I used generic disinfectant wipes for the case and cages, and an alcohol solution to carefully wipe down the drives and any other electronics that I was keeping.
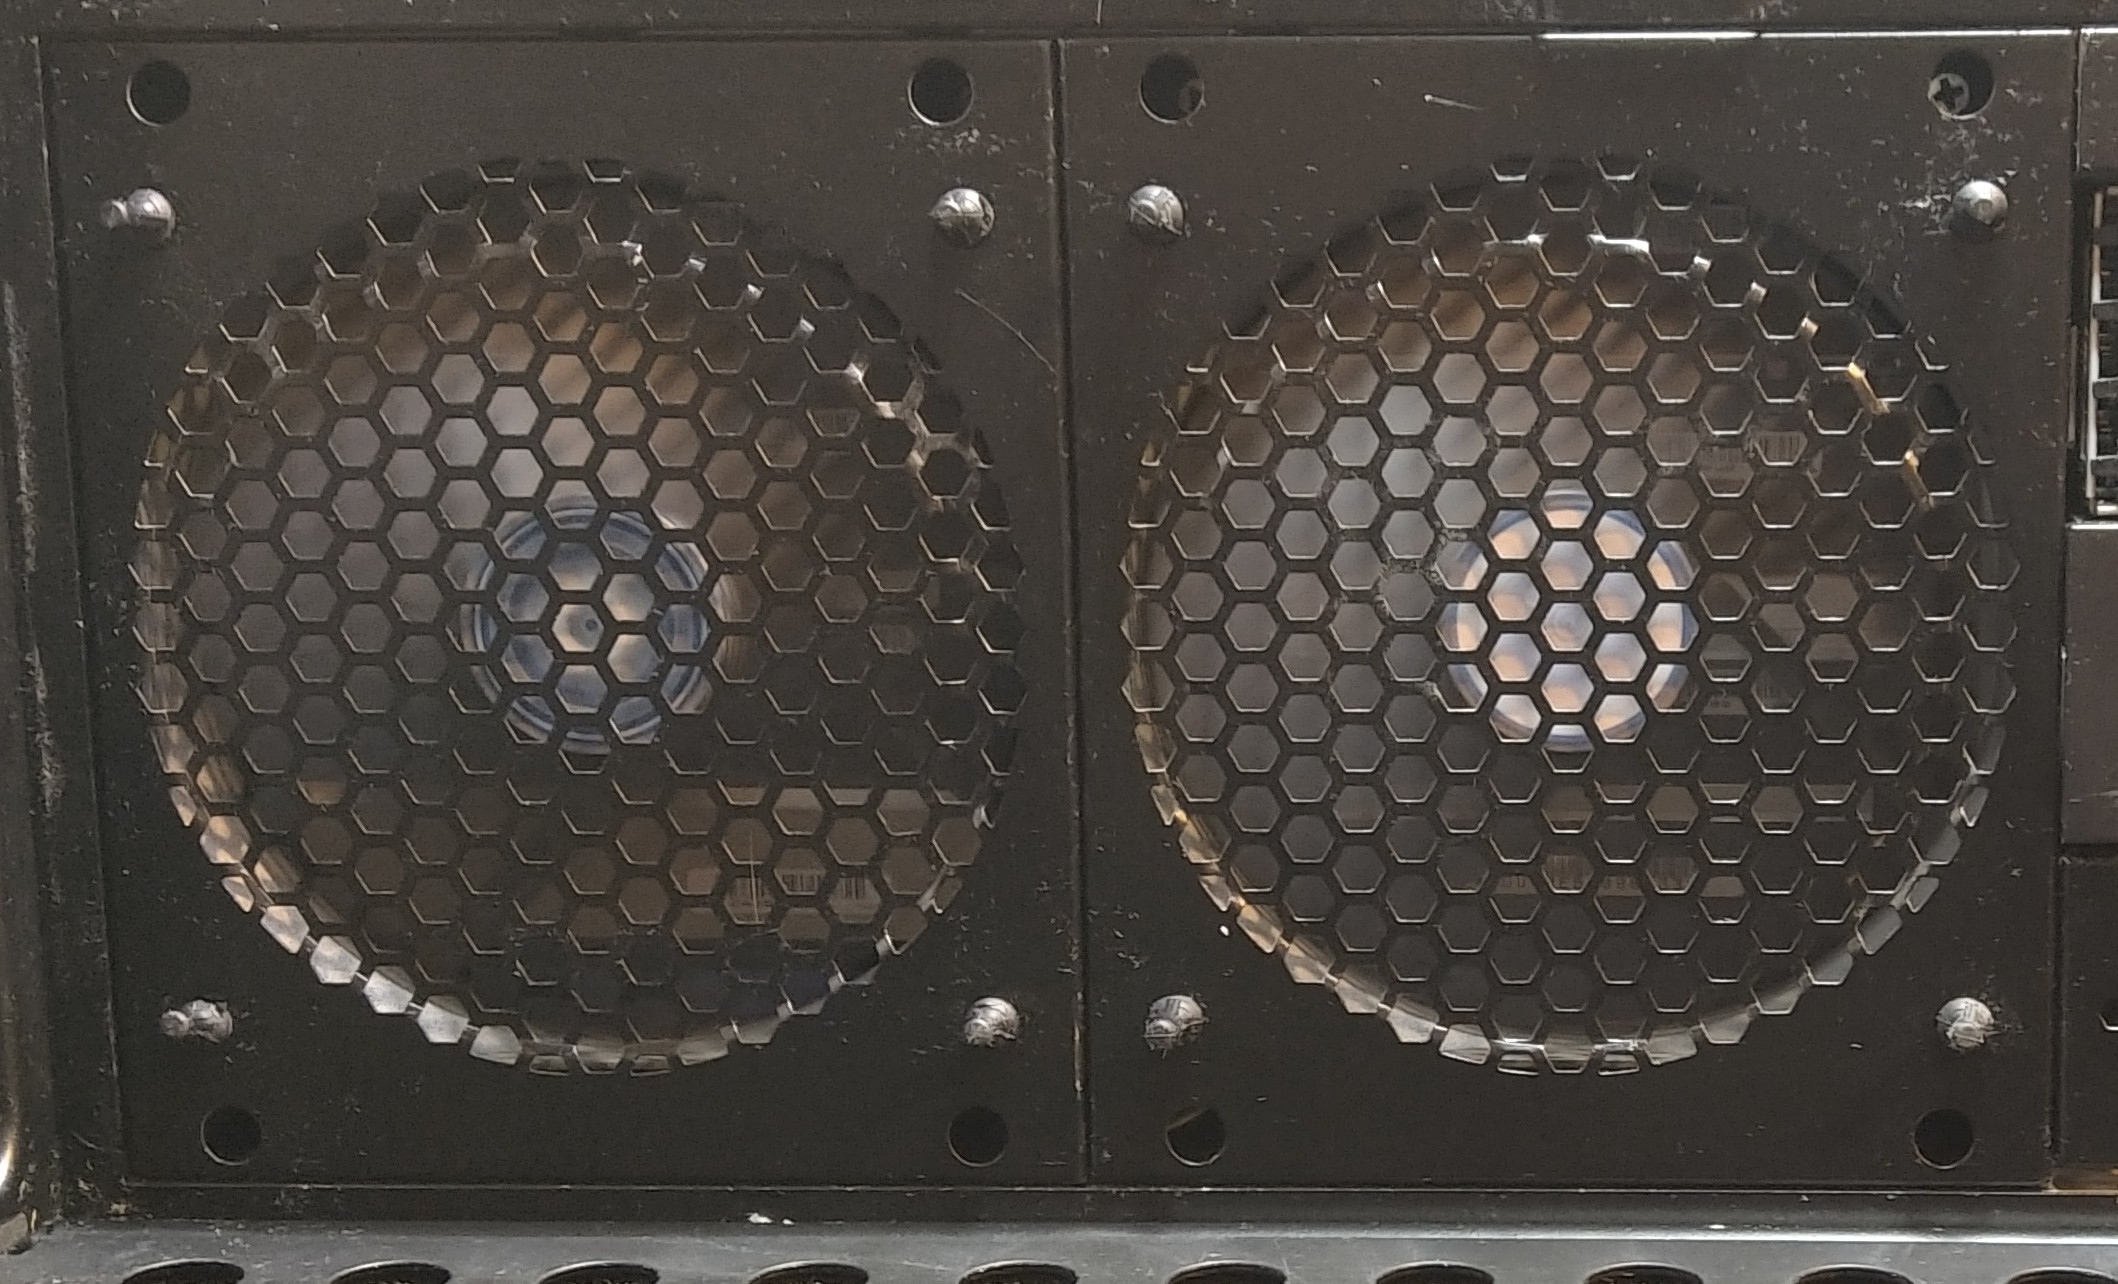
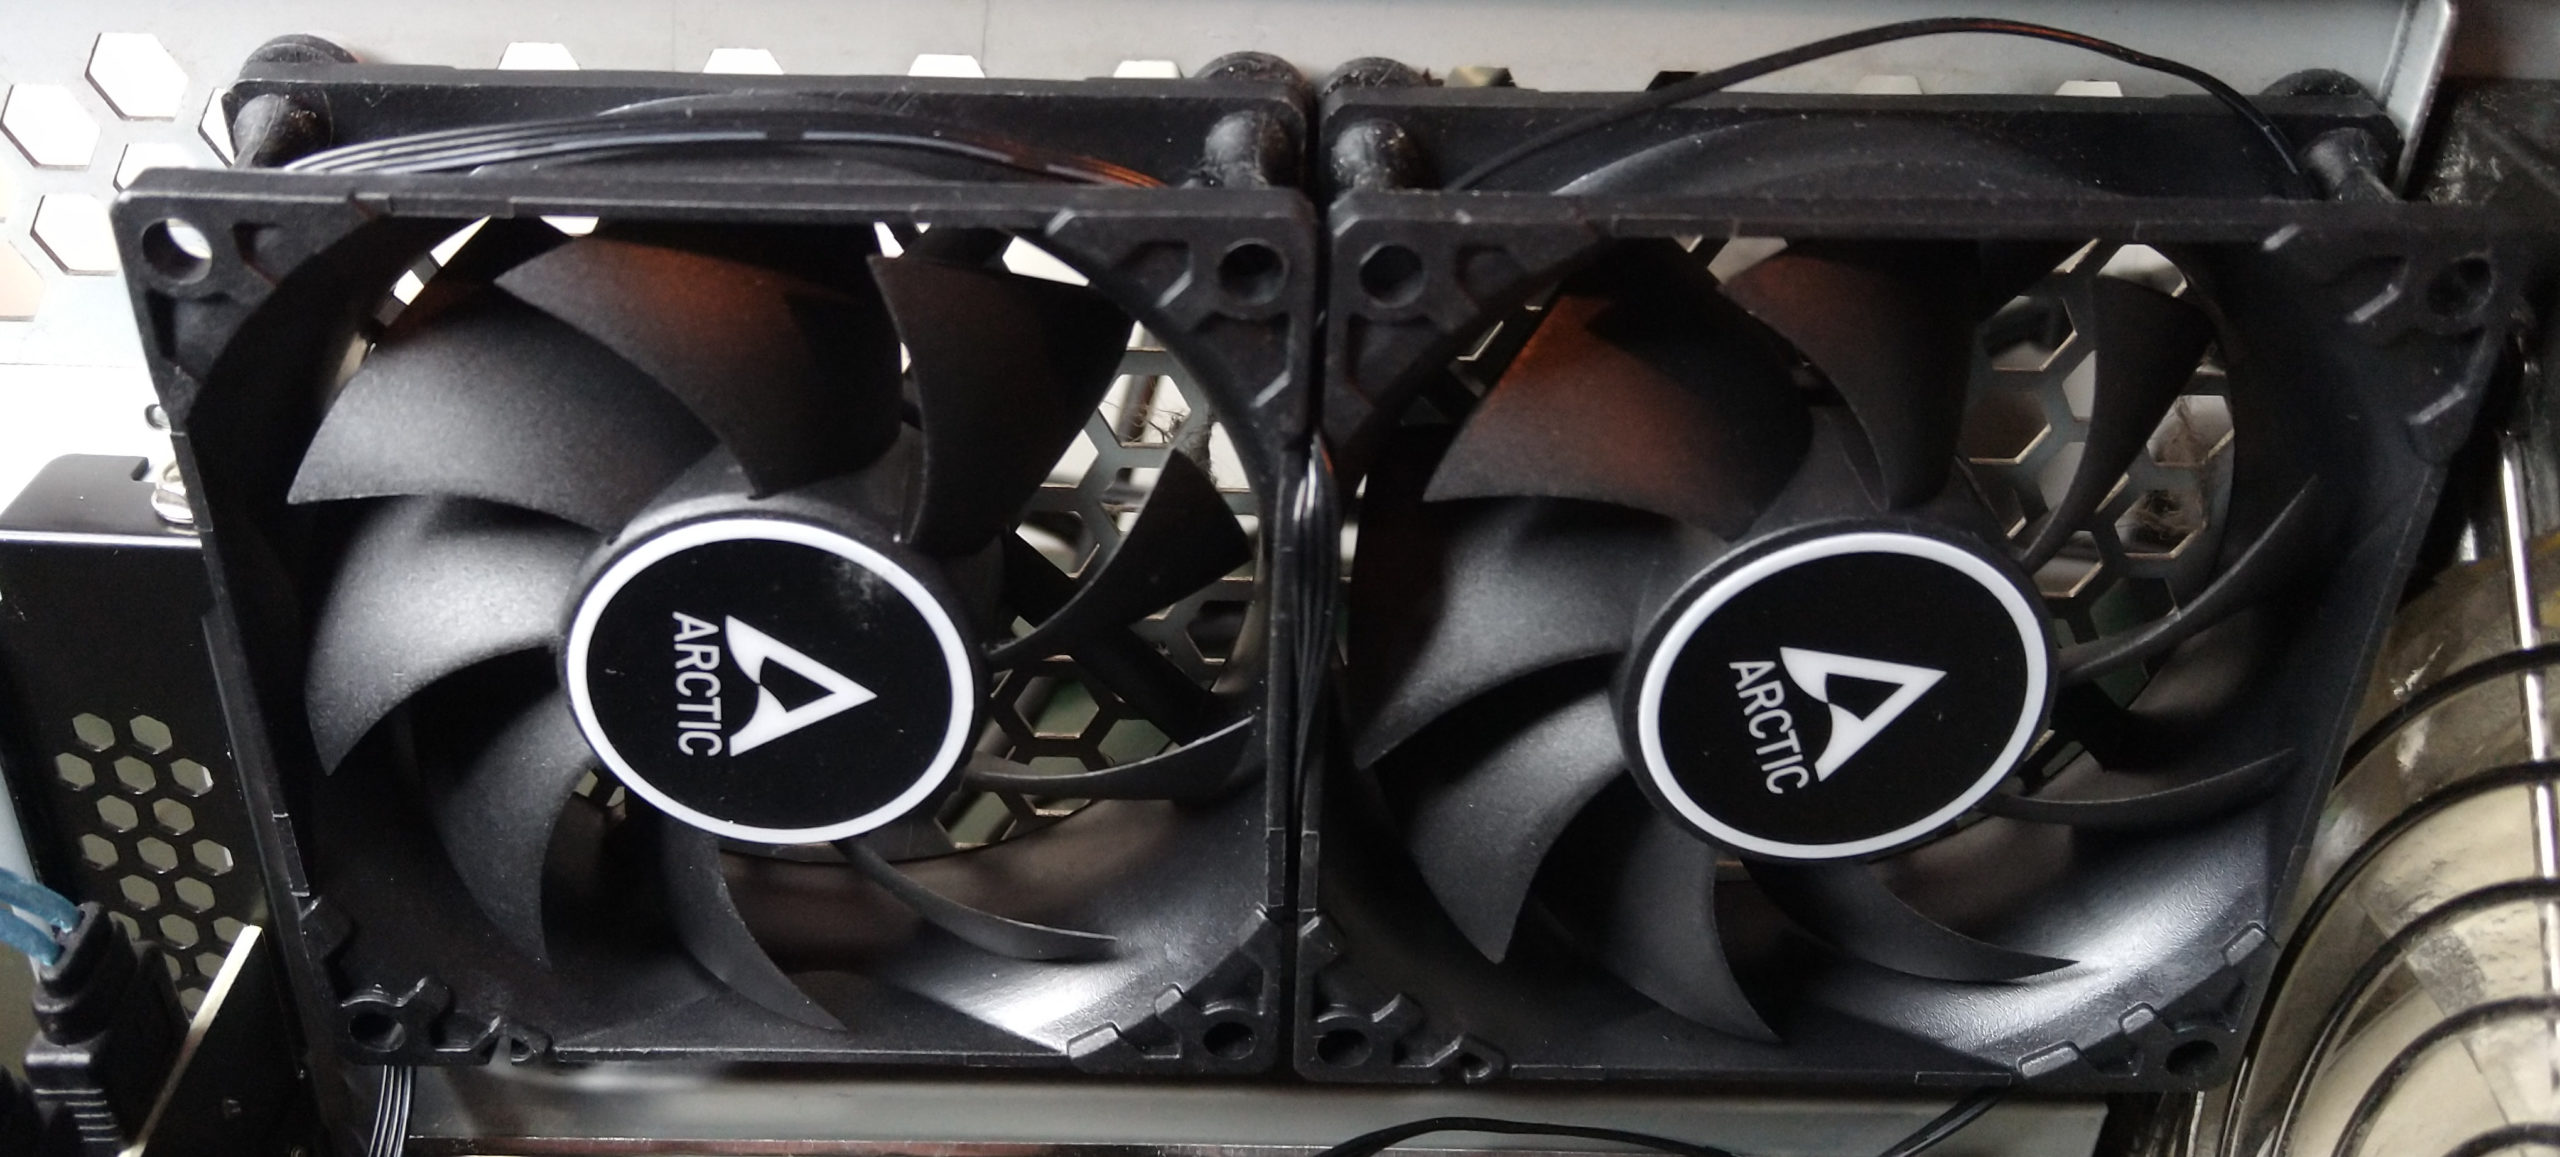 Each of the two drive cages have a 120mm fan, but the original fans were at this point very dirty and quite noisy. In addition, these fans were old always-on single-speed fans that plugged into a PATA drive power connector. I replaced the fans with clean and quiet new PWM speed-controlled fans. I used rubber fan mounts rather than screws to help eliminate vibration and noise. The chassis also uses two 80mm fans in the rear of the case, and these were also pretty loud and nasty after 11+ years. Again, these were always-on single-speed fans using PATA power, so I replaced them with new PWM fans using rubber fan mounts.
All of this left me with a server that is much cleaner and should run quieter and cooler than it has in a long time.
Second: Rip out and Replace the Guts
The main purpose of this exercise, though, was to replace the guts of the system. So I did just that. New motherboard. New CPU. New memory. New primary drives. New SATA controller. Replaced and upgraded one of the drives. Here’s a summary of the old vs. new:
| Component | Old | New |
|---|---|---|
| Motherboard | Gigabyte GA-870A-USB3 Socket AM3 PCIe 2.0 6 on-board SATA ports | X570 Phantom Gaming 4 Socket AM4 PCIe 3.0 8 on-board SATA ports |
| CPU | AMD Phenom II X4 965 4 cores / 4 threads 2586 Passmark CPU Mark | AMD Ryzen 5 5600G 6 cores / 12 threads 19847 Passmark CPU Mark |
| Memory | 16 GiB 4 x 4 GiB DDR3 1600 Mhz | 64 GiB 4 x 16 GiB DDR4 3200 Mhz |
| OS Drive | 2 x 512 GB SSD 480 MB/s max sustained read | 2 x 1 TB NVME 2600 MB/s max sustained read |
| SATA controllers | 2 port PCIe 1.0 x1 card 4 port PCIe 2.0 x1 card | 10 port PCIe 3.0 x2 card |
| Total raw storage | 63 TB | 75 TB |
So… in a nutshell…
- 7.5x CPU performance
- 5.4x OS drive performance
- 4x memory
- 12TB additional raw storage
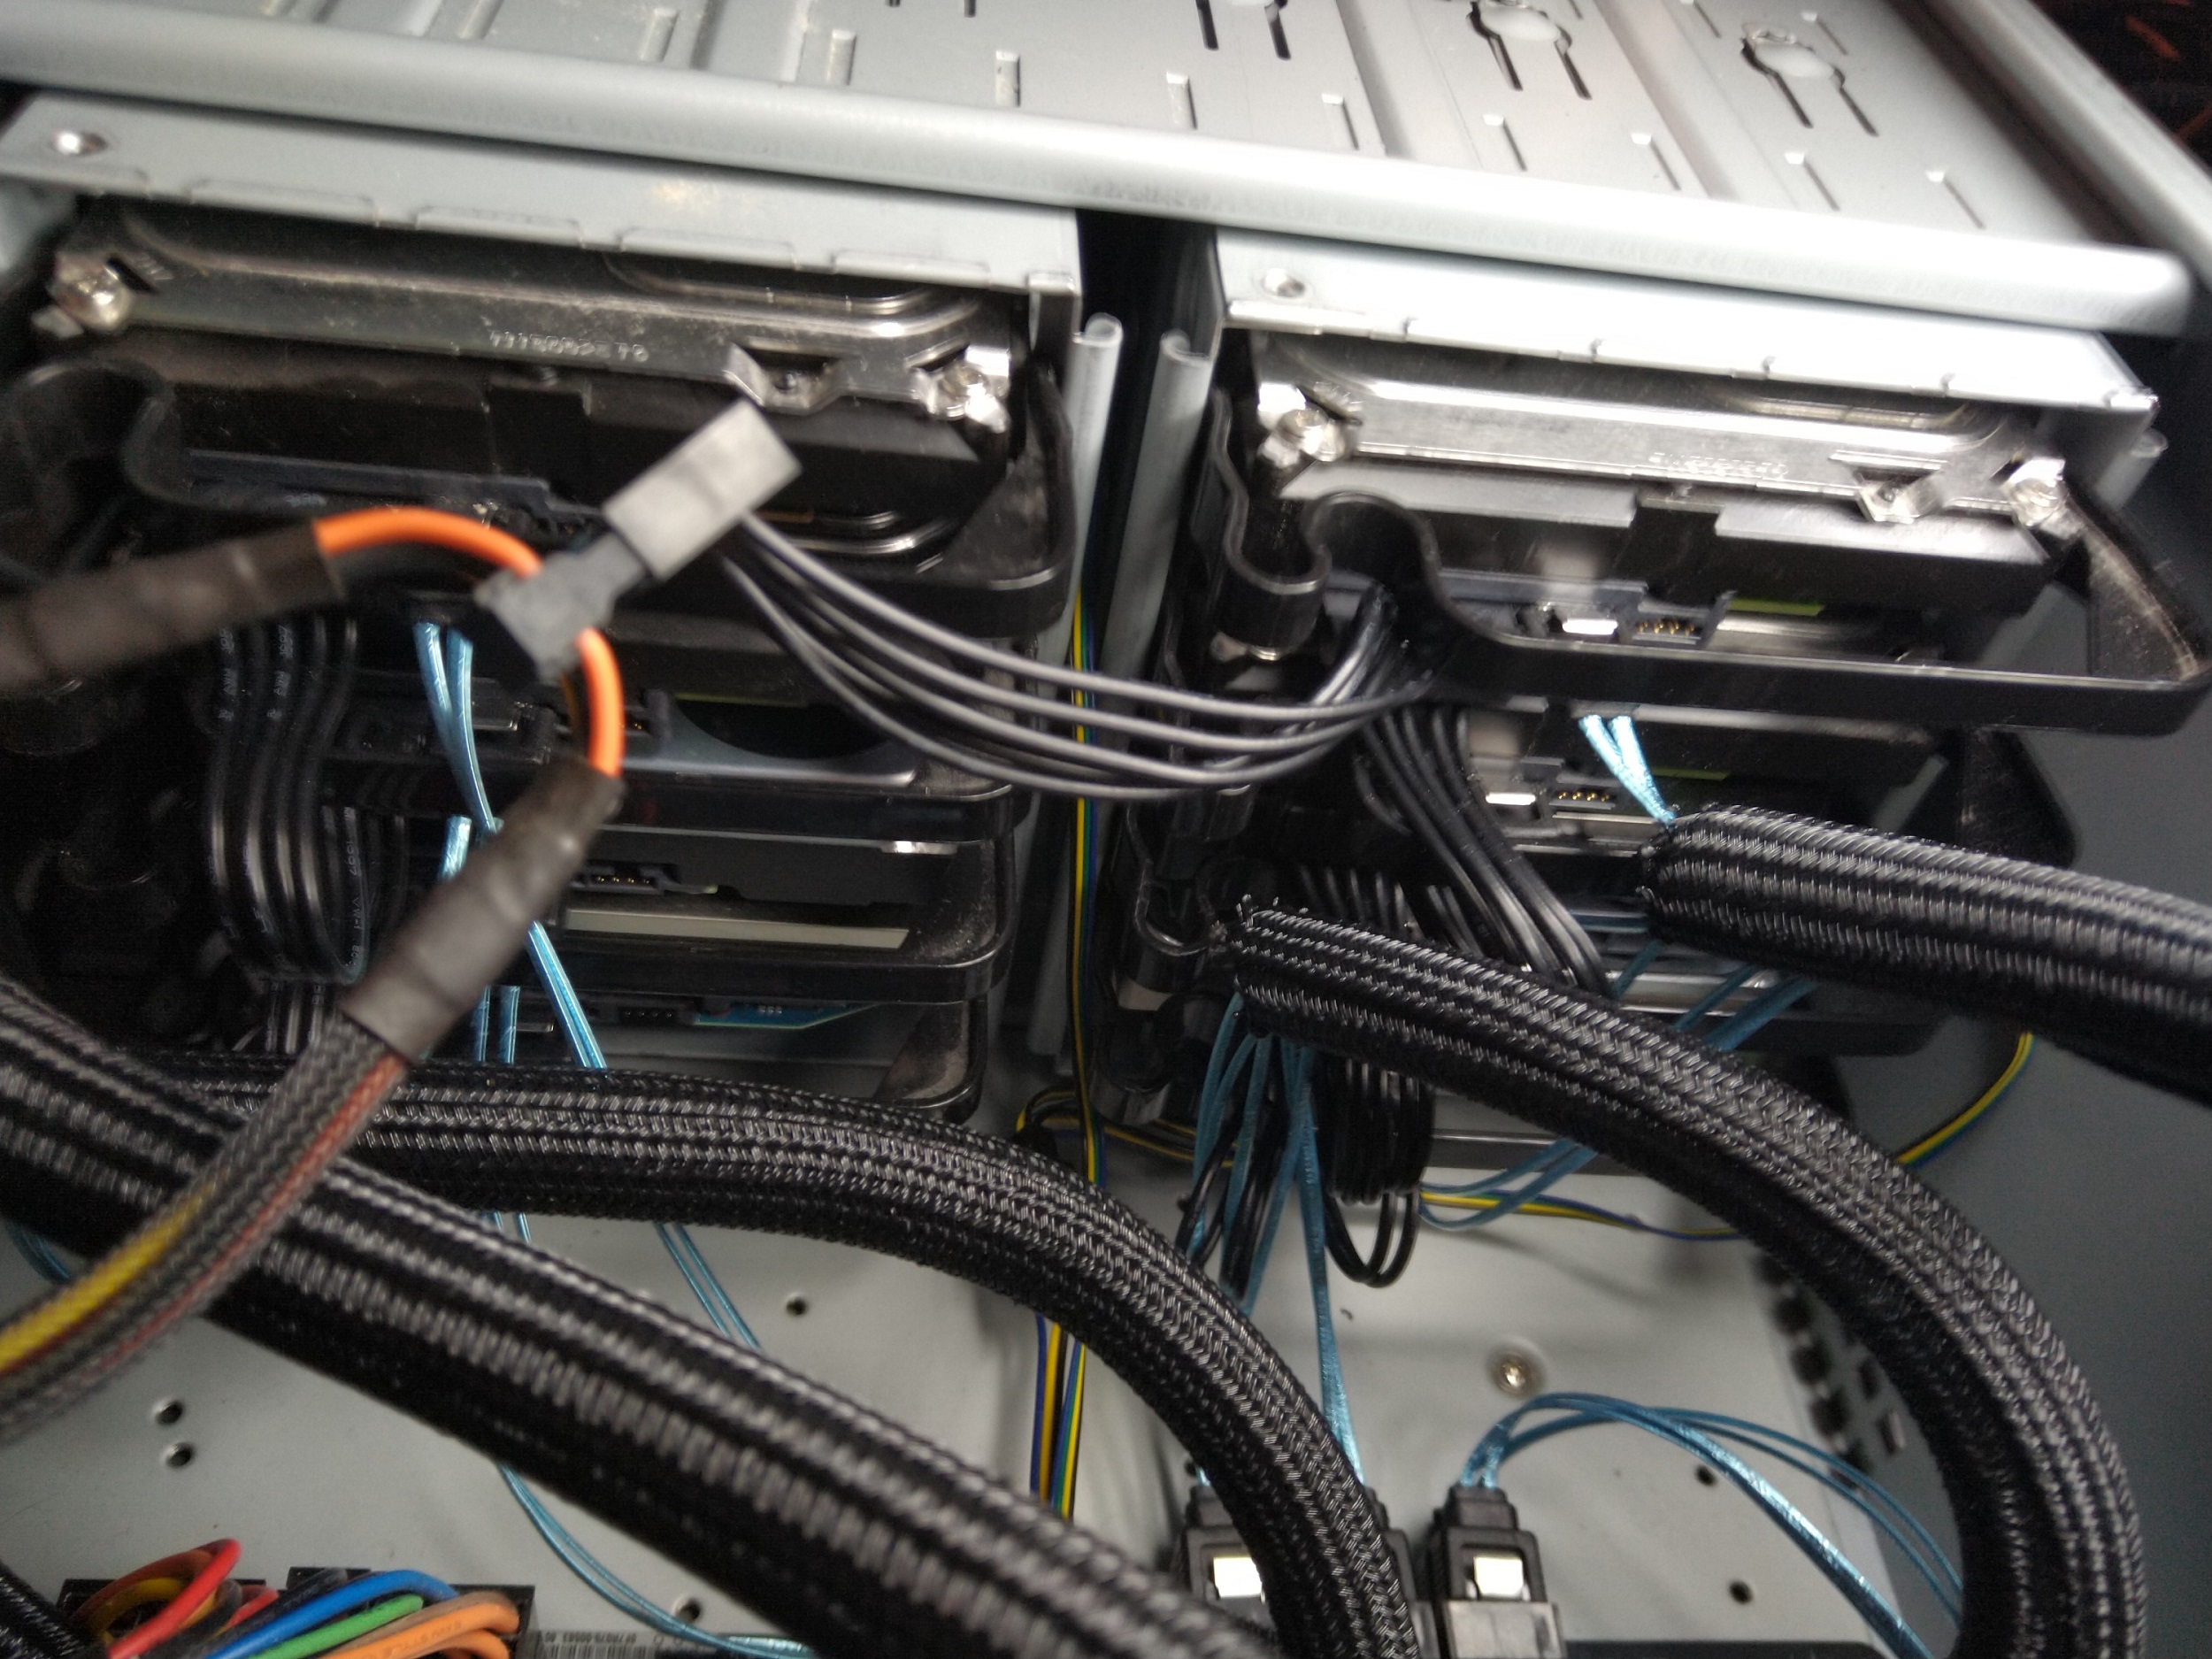 While I was at it, I replaced all of the SATA cables with new thin locking cables, replaced the drive power cables with daisy-chained power cables, and added some cable sheathing so that the cable management is much cleaner rather than a total rat’s nest.
All in all, I’m pretty happy with the results. The server is now much more powerful and will let me do some experimental stuff that the old server just wasn’t fit to handle any more. For example, I can run modern Windows VMs on the new server and actually have them be responsive, which is nice.