I just bought a new 14 TB Seagate Exos hard drive. I’m using it to replace a 4TB Seagate Desktop drive that I purchased during the Black Friday sales back in 2015, and which has been chugging along faithfully ever since. As of last check, it had recorded 61,747 hours powered on — that’s over 7 years actively spinning!
I’ve occasionally had problems with newly purchased drives, ranging from drives that were dead on arrival or failed quickly to drives that the vendor claimed were new but clearly were refurbished. As a result, I’ve learned to always run new drives through a series of checks and tests before I actually entrust data to them.
Here’s a rundown of what I do:
Check the Warranty
The very first thing to do is to check the drive’s serial number against the manufacturer’s warranty site and make sure that it reports that the drive is still in warranty and has a warranty expiration date that’s in the range you expect. It’s important to note that the warranty on most drives these days is based on the manufacture date and not the sale date, so this is particularly important if you’re buying stock that might have been sitting on a warehouse shelf for a while.
Here are a few quick links to sites where you can check warranty status for drives:
Check the drive with SMART
Virtually all modern storage devices, whether old-style spinning hard drives, newer SSD’s, or even newer NVME storage, support SMART, or Self-Monitoring, Analysis and Reporting Technology. This allows you to pull statistics from and run tests against the drive, and SMART data can often give warning that a drive is in the process of failing.
One of the best tools for accessing SMART information is the smartctl tool, which is part of the smartmontools package. This package may already be installed on your Linux system, but if it’s not, simply install smartmontools. It’s even available for Windows systems.
Next, run a series of smartctl commands against the drive in question. Note that smartctl needs to run as root (either directly or via sudo) to be able to access the drive properly. In the sections below, I show the results of running different smartctl commands to pull specific information on the drive, but you can also use “smartctl -a” to dump all the SMART information at once. For example, assuming that the new device is /dev/sdc, you might run this:
[user@server ~]$ sudo smartctl -a /dev/sdc
This will dump a full report of all the SMART information available for the drive.
Check the SMART Information
You can use “smartctl -i” to check the SMART Information Section. Here’s an example (note that I’ve obscured the serial number of my drive):
[user@server ~]$ sudo smartctl -i /dev/sdc
smartctl 7.3 2022-02-28 r5338 [x86_64-linux-6.0.15-300.fc37.x86_64] (local build)
Copyright (C) 2002-22, Bruce Allen, Christian Franke, www.smartmontools.org

=== START OF INFORMATION SECTION ===
Model Family:     Seagate Exos X16
Device Model:     ST14000NM001G-2KJ103
Serial Number:    XXXXXXXX
LU WWN Device Id: 5 000c50 0e48324fd
Firmware Version: SN03
User Capacity:    14,000,519,643,136 bytes [14.0 TB]
Sector Sizes:     512 bytes logical, 4096 bytes physical
Rotation Rate:    7200 rpm
Form Factor:      3.5 inches
Device is:        In smartctl database 7.3/5319
ATA Version is:   ACS-4 (minor revision not indicated)
SATA Version is:  SATA 3.3, 6.0 Gb/s (current: 6.0 Gb/s)
Local Time is:    Sun Jan 1 03:26:30 2023 GMT
SMART support is: Available - device has SMART capability.
SMART support is: Enabled
You’ll want to look at the model, size, and serial number of the drive and check that these match against what’s written on the drive and that they’re correct for what you purchased. I have encountered a few manufacturers where the internally reported serial number doesn’t match what’s written on the drive (TEAM Group SSDs come to mind), but most drives will accurately report the serial number, and a mismatch indicates shenanigans.
Check the SMART Health
Next, verify that SMART reports the drive is healthy, using the “smartctl -H” command:
[user@server ~]$ sudo smartctl -H /dev/sdc
smartctl 7.3 2022-02-28 r5338 [x86_64-linux-6.0.15-300.fc37.x86_64] (local build)
Copyright (C) 2002-22, Bruce Allen, Christian Franke, www.smartmontools.org

=== START OF READ SMART DATA SECTION ===
SMART overall-health self-assessment test result: PASSED
If the SMART overall-health self-assessment reports anything other than PASSED, something’s wrong with the drive and you should consider returning the drive for a replacement.
Check the SMART Attributes
I also check the attributes of the storage device as reported by SMART, as these can identify potential shenanigans with refurbished drives being re-sold as new. This is done via “smartctl -A” (note that that’s a capital A):
[user@server ~]$ sudo smartctl -A /dev/sdc
smartctl 7.3 2022-02-28 r5338 [x86_64-linux-6.0.15-300.fc37.x86_64] (local build)
Copyright (C) 2002-22, Bruce Allen, Christian Franke, www.smartmontools.org

=== START OF READ SMART DATA SECTION ===
SMART Attributes Data Structure revision number: 10
Vendor Specific SMART Attributes with Thresholds:
ID# ATTRIBUTE_NAME          FLAG     VALUE WORST THRESH TYPE      UPDATED  WHEN_FAILED RAW_VALUE
  1 Raw_Read_Error_Rate     0x000f   081   065   044    Pre-fail  Always       -       112398000
  3 Spin_Up_Time            0x0003   096   096   000    Pre-fail  Always       -       0
  4 Start_Stop_Count        0x0032   100   100   020    Old_age   Always       -       4
  5 Reallocated_Sector_Ct   0x0033   100   100   010    Pre-fail  Always       -       0
  7 Seek_Error_Rate         0x000f   074   060   045    Pre-fail  Always       -       24504019
  9 Power_On_Hours          0x0032   100   100   000    Old_age   Always       -       72
 10 Spin_Retry_Count        0x0013   100   100   097    Pre-fail  Always       -       0
 12 Power_Cycle_Count       0x0032   100   100   020    Old_age   Always       -       4
 18 Head_Health             0x000b   100   100   050    Pre-fail  Always       -       0
187 Reported_Uncorrect      0x0032   100   100   000    Old_age   Always       -       0
188 Command_Timeout         0x0032   100   100   000    Old_age   Always       -       0
190 Airflow_Temperature_Cel 0x0022   071   050   040    Old_age   Always       -       29 (Min/Max 25/36)
192 Power-Off_Retract_Count 0x0032   100   100   000    Old_age   Always       -       1
193 Load_Cycle_Count        0x0032   100   100   000    Old_age   Always       -       21
194 Temperature_Celsius     0x0022   029   040   000    Old_age   Always       -       29 (0 22 0 0 0)
197 Current_Pending_Sector  0x0012   100   100   000    Old_age   Always       -       0
198 Offline_Uncorrectable   0x0010   100   100   000    Old_age   Offline      -       0
199 UDMA_CRC_Error_Count    0x003e   200   200   000    Old_age   Always       -       0
200 Pressure_Limit          0x0023   100   100   001    Pre-fail  Always       -       0
240 Head_Flying_Hours       0x0000   100   253   000    Old_age   Offline      -       65h+45m+02.089s
241 Total_LBAs_Written      0x0000   100   253   000    Old_age   Offline      -       35912985792
242 Total_LBAs_Read         0x0000   100   253   000    Old_age   Offline      -       27344671168
There are several attributes that you should pay close attention to in here: The Power_On_Hours, Head_Flying_Hours, Total_LBAs_Written, and Total_LBAs_Read attributes should all be close to zero on a new drive, as these attributes should all have been zero when you unpacked the drive and should only reflect any activity that has happened since you installed the drive.
If these attributes show anything else, it probably indicates that you’ve been sold a refurbished drive, and you should consider returning it. This is especially true if these numbers are high.
Check SMART Selftest Logs
I also check the logs of any self tests that have been run against the drive by SMART using the “smartctl -l selftest” command:
[user@server ~]$ sudo smartctl -l selftest /dev/sdc
smartctl 7.3 2022-02-28 r5338 [x86_64-linux-6.0.15-300.fc37.x86_64] (local build)
Copyright (C) 2002-22, Bruce Allen, Christian Franke, www.smartmontools.org

=== START OF READ SMART DATA SECTION ===
SMART Self-test log structure revision number 1
Num Test_Description    Status                  Remaining  LifeTime(hours)  LBA_of_first_error
# 1 Extended offline    Completed without error       00%        18         -
# 2 Short offline       Completed without error       00%         0         -
A new drive should have no self test records. If this command shows self tests on the device, something’s funky. (The tests that you see above are from after I ran my own tests on a new drive.)
This particular command came in really handy at one point when a shady vendor sold me some refurbished drives as new. The SMART attributes showed expected near zeroes for the Power_On_Hours and Head_Flying_Hours attributes, but the SMART self test logs showed that a short offline test had been run — and failed — at a lifetime hours that indicated that the drive had been actively in use for more than two years. Clearly that was a failed drive where the vendor had somehow cleared out the SMART attributes but neglected to clear out the self test logs. Needless to say, I wasn’t surprised when the drive immediately started showing bad sectors and returned my entire order immediately.
Run SMART Self Tests
The smartctl command can also initiate drive self tests and return the results. I always run both a short and a long self test before I put the drive into active use. A short self test will typically complete in just 1-3 minutes, and just does some minimal functionality testing of the drive. A long self test will run for many hours; depending on the type and size of the drive, it could easily take 12-24 hours to run, as it exercises the entire drive. These commands are run with the “smartctl -t short” and “smartctl -t long” commands:
[user@server ~]$ sudo smartctl -t short /dev/sdc
smartctl 7.3 2022-02-28 r5338 [x86_64-linux-6.0.15-300.fc37.x86_64] (local build)
Copyright (C) 2002-22, Bruce Allen, Christian Franke, www.smartmontools.org

=== START OF OFFLINE IMMEDIATE AND SELF-TEST SECTION ===
Sending command: "Execute SMART Short self-test routine immediately in off-line mode".
Drive command "Execute SMART Short self-test routine immediately in off-line mode" successful.
Testing has begun.
Please wait 1 minutes for test to complete.
Test will complete after Sun Jan 1 04:13:52 2023 GMT
Use smartctl -X to abort test.
As you can see, smartctl will tell you approximately how long the test will take to complete, and will tell you when you can expect to check back to see the results. You can use the “smartctl -l selftest” command as shown above to see the results of the test. If the test has not yet completed, that command will tell you how much of the test is remaining to be run.
Run full drive write and read tests
The final set of tests that I do is to write data to the entire drive, and then read data from the entire drive, to ensure that there are no obvious issues with any section of the drive. Depending on your drive speed and size, this can again be a very lengthy process (e.g., for the Exos 14 TB drive that prompted this post, it took about 18 hours to do each).
The “dd” command on Unix/Linux systems is used to convert and copy files, but since “cc” was already used for the C compiler, the authors named it “dd” instead (although some people will tell you that “dd” stands for “data destruction” or “data duplicator” instead).
Write to the entire drive
I use the following dd command to write data to the entire drive:
[user@server ~]$ sudo dd if=/dev/zero of=/dev/sdc bs=1M &
[1] 1562764
The if= option specifies that the input file is /dev/zero. This is a special device on Unix/Linux systems that will just repeatedly spit out null characters (ASCII character zero). The of= option specifies that the output file is the disk that I’m testing. Make sure to get the right disk, as dd will happily overwrite all data on the disk with no verification and no way to undo what you’re doing! The bs= option specifies that I’ll be using a block size of 1 mebibyte (1,048,576 bytes). So basically, this will just sequentially write 1MiB blocks of null characters to the disk until all the space on the disk has been written to.
The ampersand at the end of the command tells the OS to run it in the background, and the “[1] 1562764” response that you see above indicates that this is job 1, with PID (process ID) 1562764. Your own job number and PID may vary.
If you want to monitor the progress of the command, you can do so by sending a USR1 signal to the command using the “kill” command. E.g.:
[user@server ~]$ kill -USR1 %1
[user@server ~]$ 43066+0 records in
43066+0 records out
45157974016 bytes (45 GB, 42 GiB) copied, 301.514 s, 150 MB/s
In the example above, I’m sending a USR1 signal to job one (designated as %1). I could have provided the PID instead, but the job number is usually easier to remember. You’ll also note that the formatting looks a little weird, because you will usually get your next prompt before the process receives the USR1 signal and spits out the current status information.
This command will eventually complete with an error indicating that there’s no space left on the device, and providing statistics for the entire run. It’ll look something like this (although you may note that to capture the info below I used a different device):
dd: error writing '/dev/sdi2': No space left on device
2049+0 records in
2048+0 records out
2147483648 bytes (2.1 GB, 2.0 GiB) copied, 4.52105 s, 475 MB/s
Read from the entire drive
Once the full disk write is done, I perform a full disk read. This is also done using the dd command, as follows:
[user@server ~]$ sudo dd if=/dev/sdc of=/dev/null bs=1M &
[1] 1562764
In this case, the input file (if) is the disk you’re reading from, and the output file (of) is /dev/null, which is a special device that just discards anything that’s written to it. Once again, you can use “kill -USR1” to get interim progress statistics, and at the end it will spit out a message with final completion info (this time without an error message).
A final check with smartctl
Once I’ve finished the tests above, I run one final “smartctl -H” and one final “smartctl -A” and make sure that everything looks good. In particular, I’m looking for that “PASSED” and verifying that nothing looks wonky with any of the attributes (e.g., bad sector counts, etc.).
Start using the drive
Once a drive finishes all of the tests above, it’s ready to go. This isn’t a fast process, so it requires a fair bit of patience to get through it rather than just using the drive immediately. It only takes one experience losing a bunch of data that you’ve just put onto a new drive, though, before you see the value of this process.
Do you have a similar process that you follow? Any useful additional checks you like to run? Let me know!
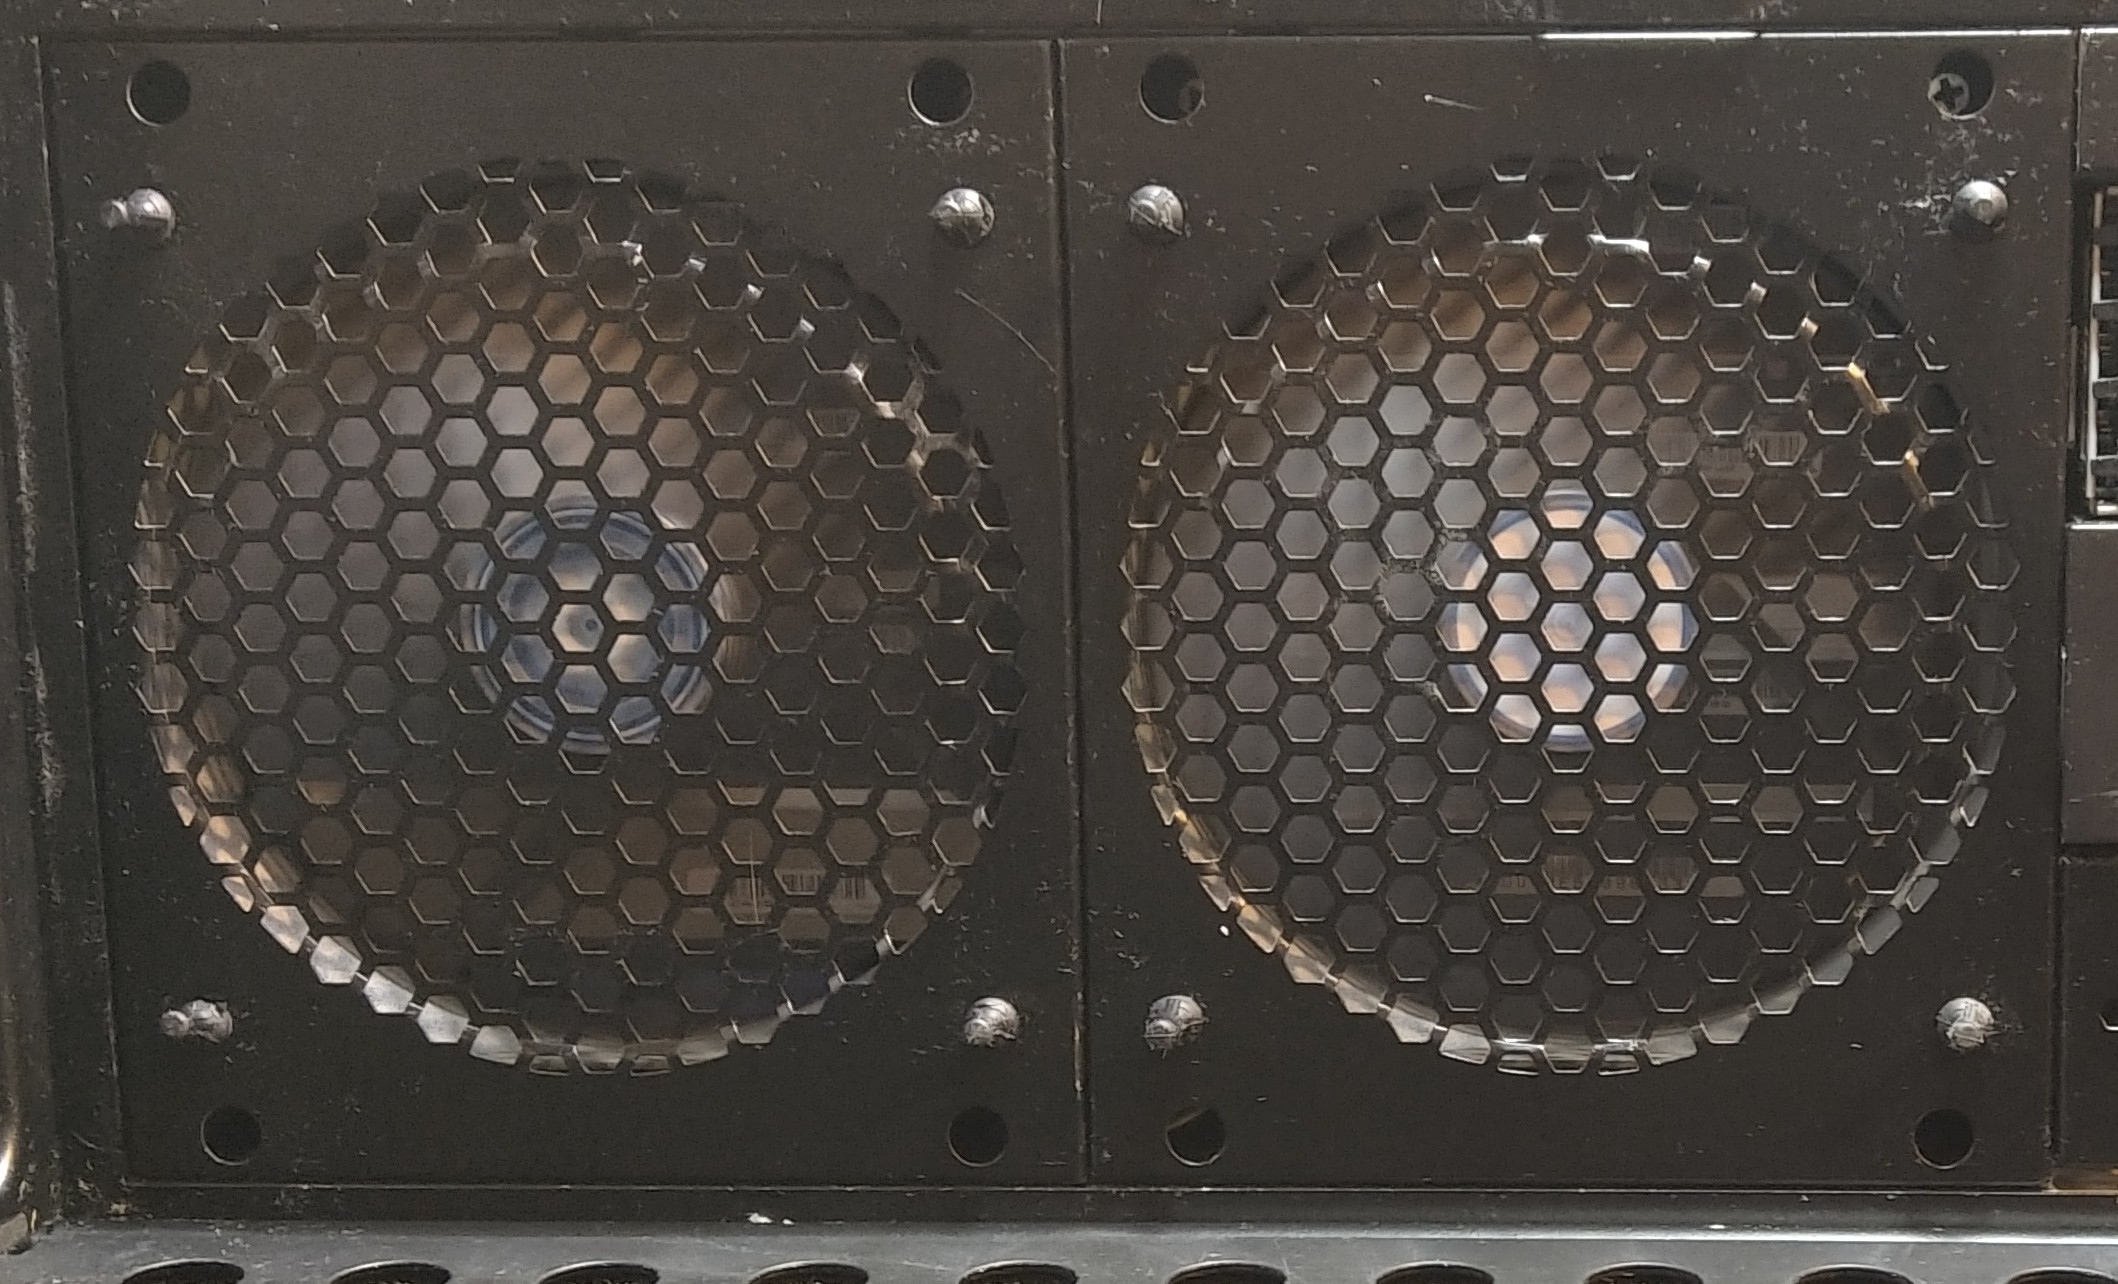
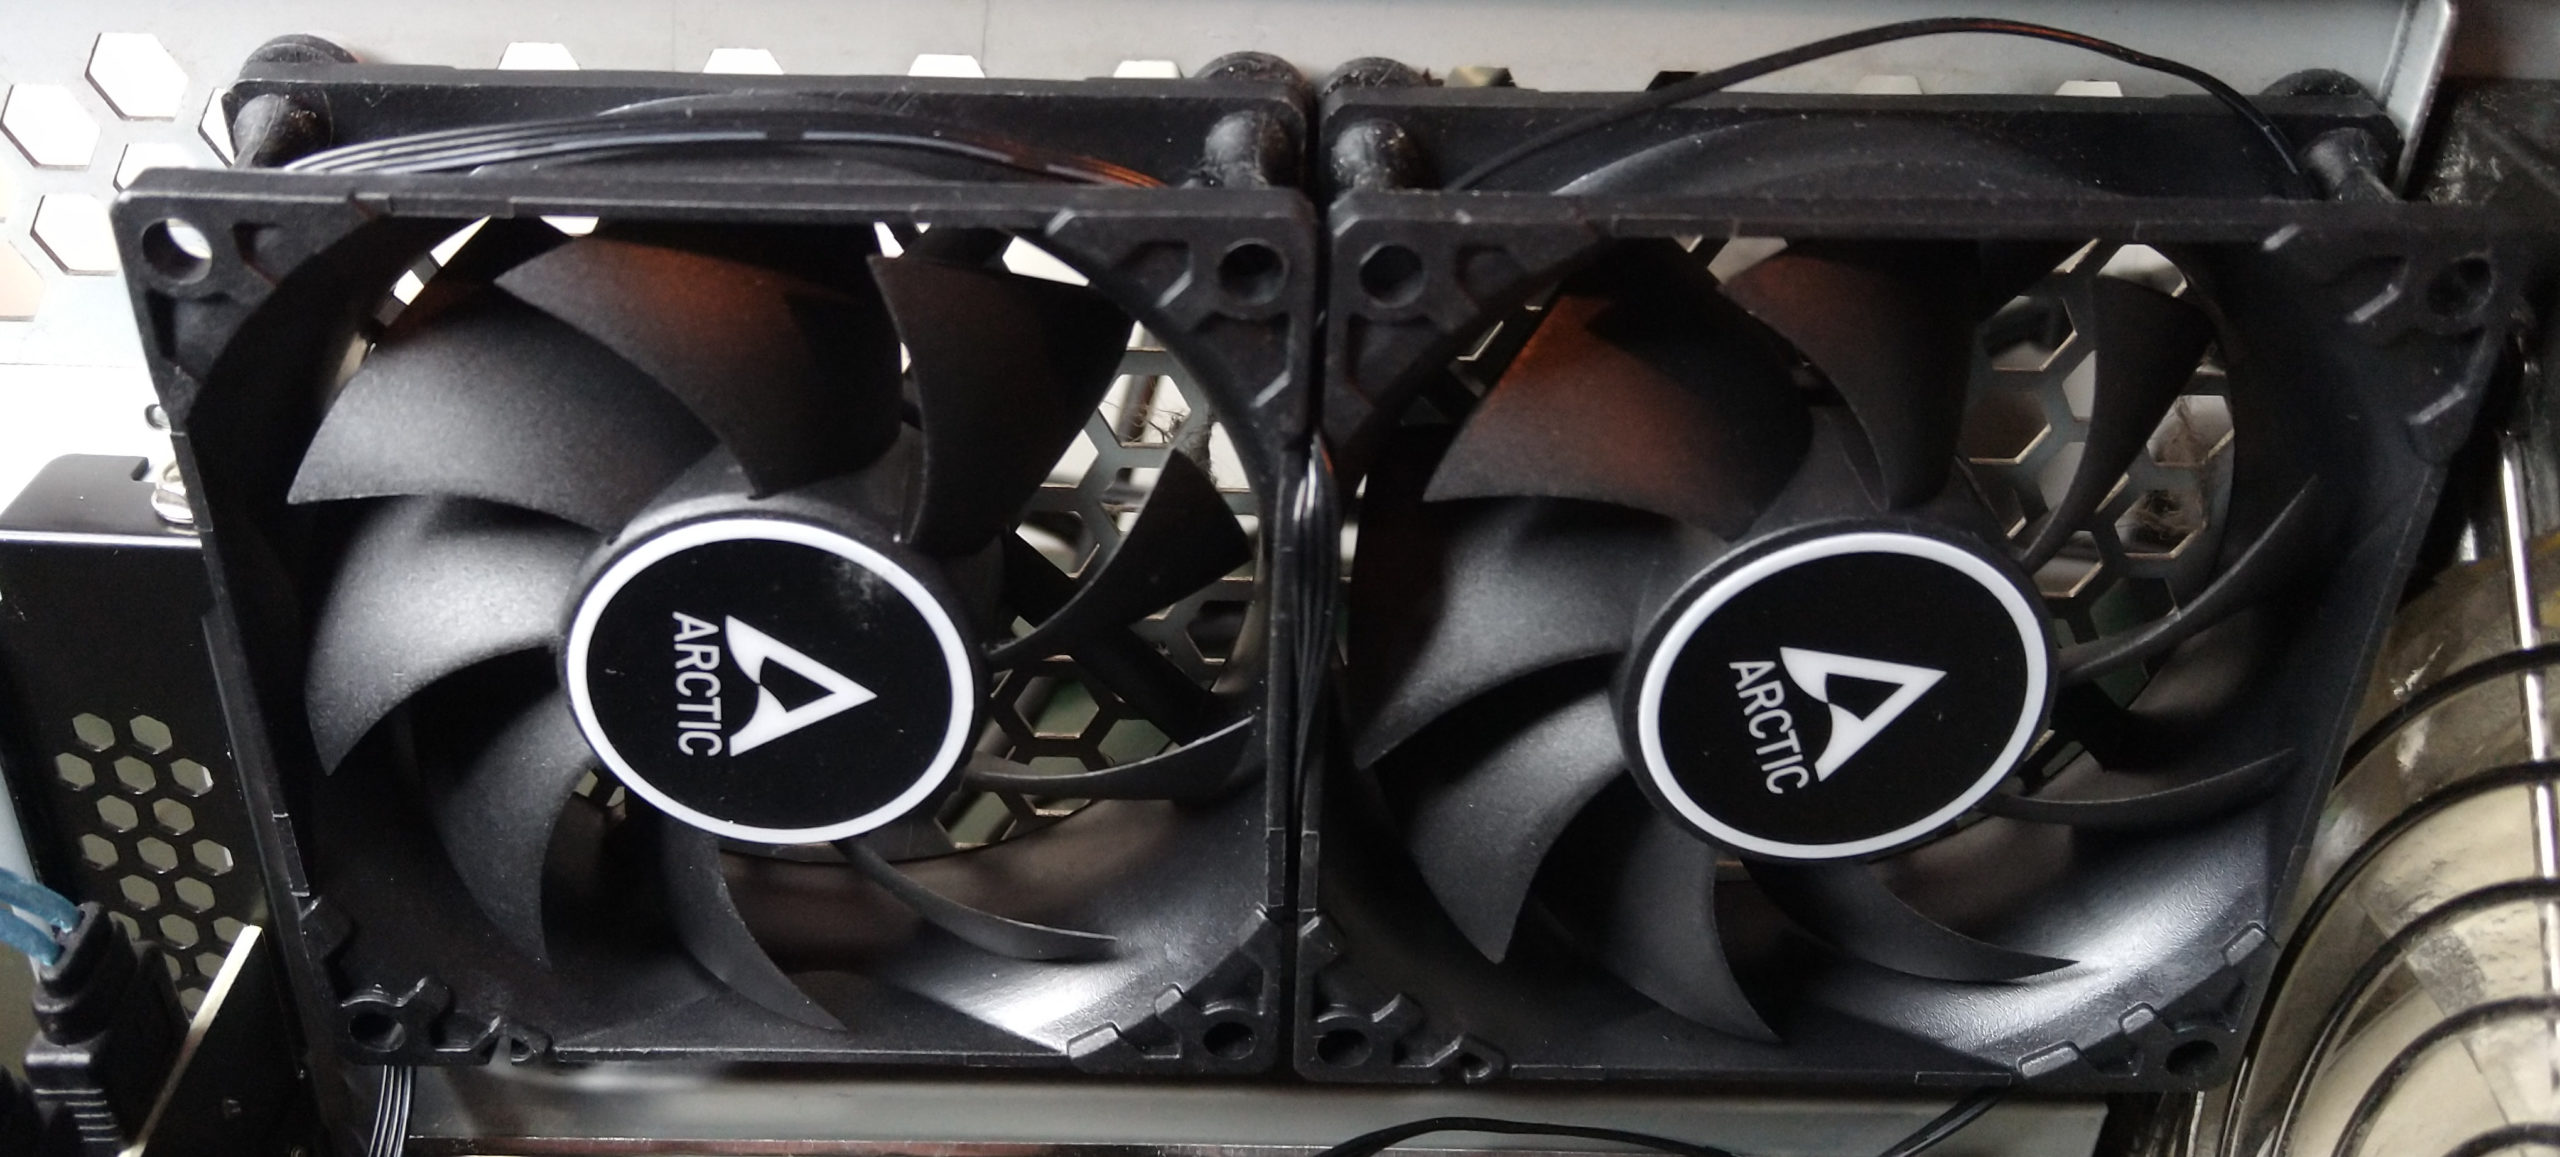 Each of the two drive cages have a 120mm fan, but the original fans were at this point very dirty and quite noisy. In addition, these fans were old always-on single-speed fans that plugged into a PATA drive power connector. I replaced the fans with clean and quiet new PWM speed-controlled fans. I used rubber fan mounts rather than screws to help eliminate vibration and noise. The chassis also uses two 80mm fans in the rear of the case, and these were also pretty loud and nasty after 11+ years. Again, these were always-on single-speed fans using PATA power, so I replaced them with new PWM fans using rubber fan mounts.
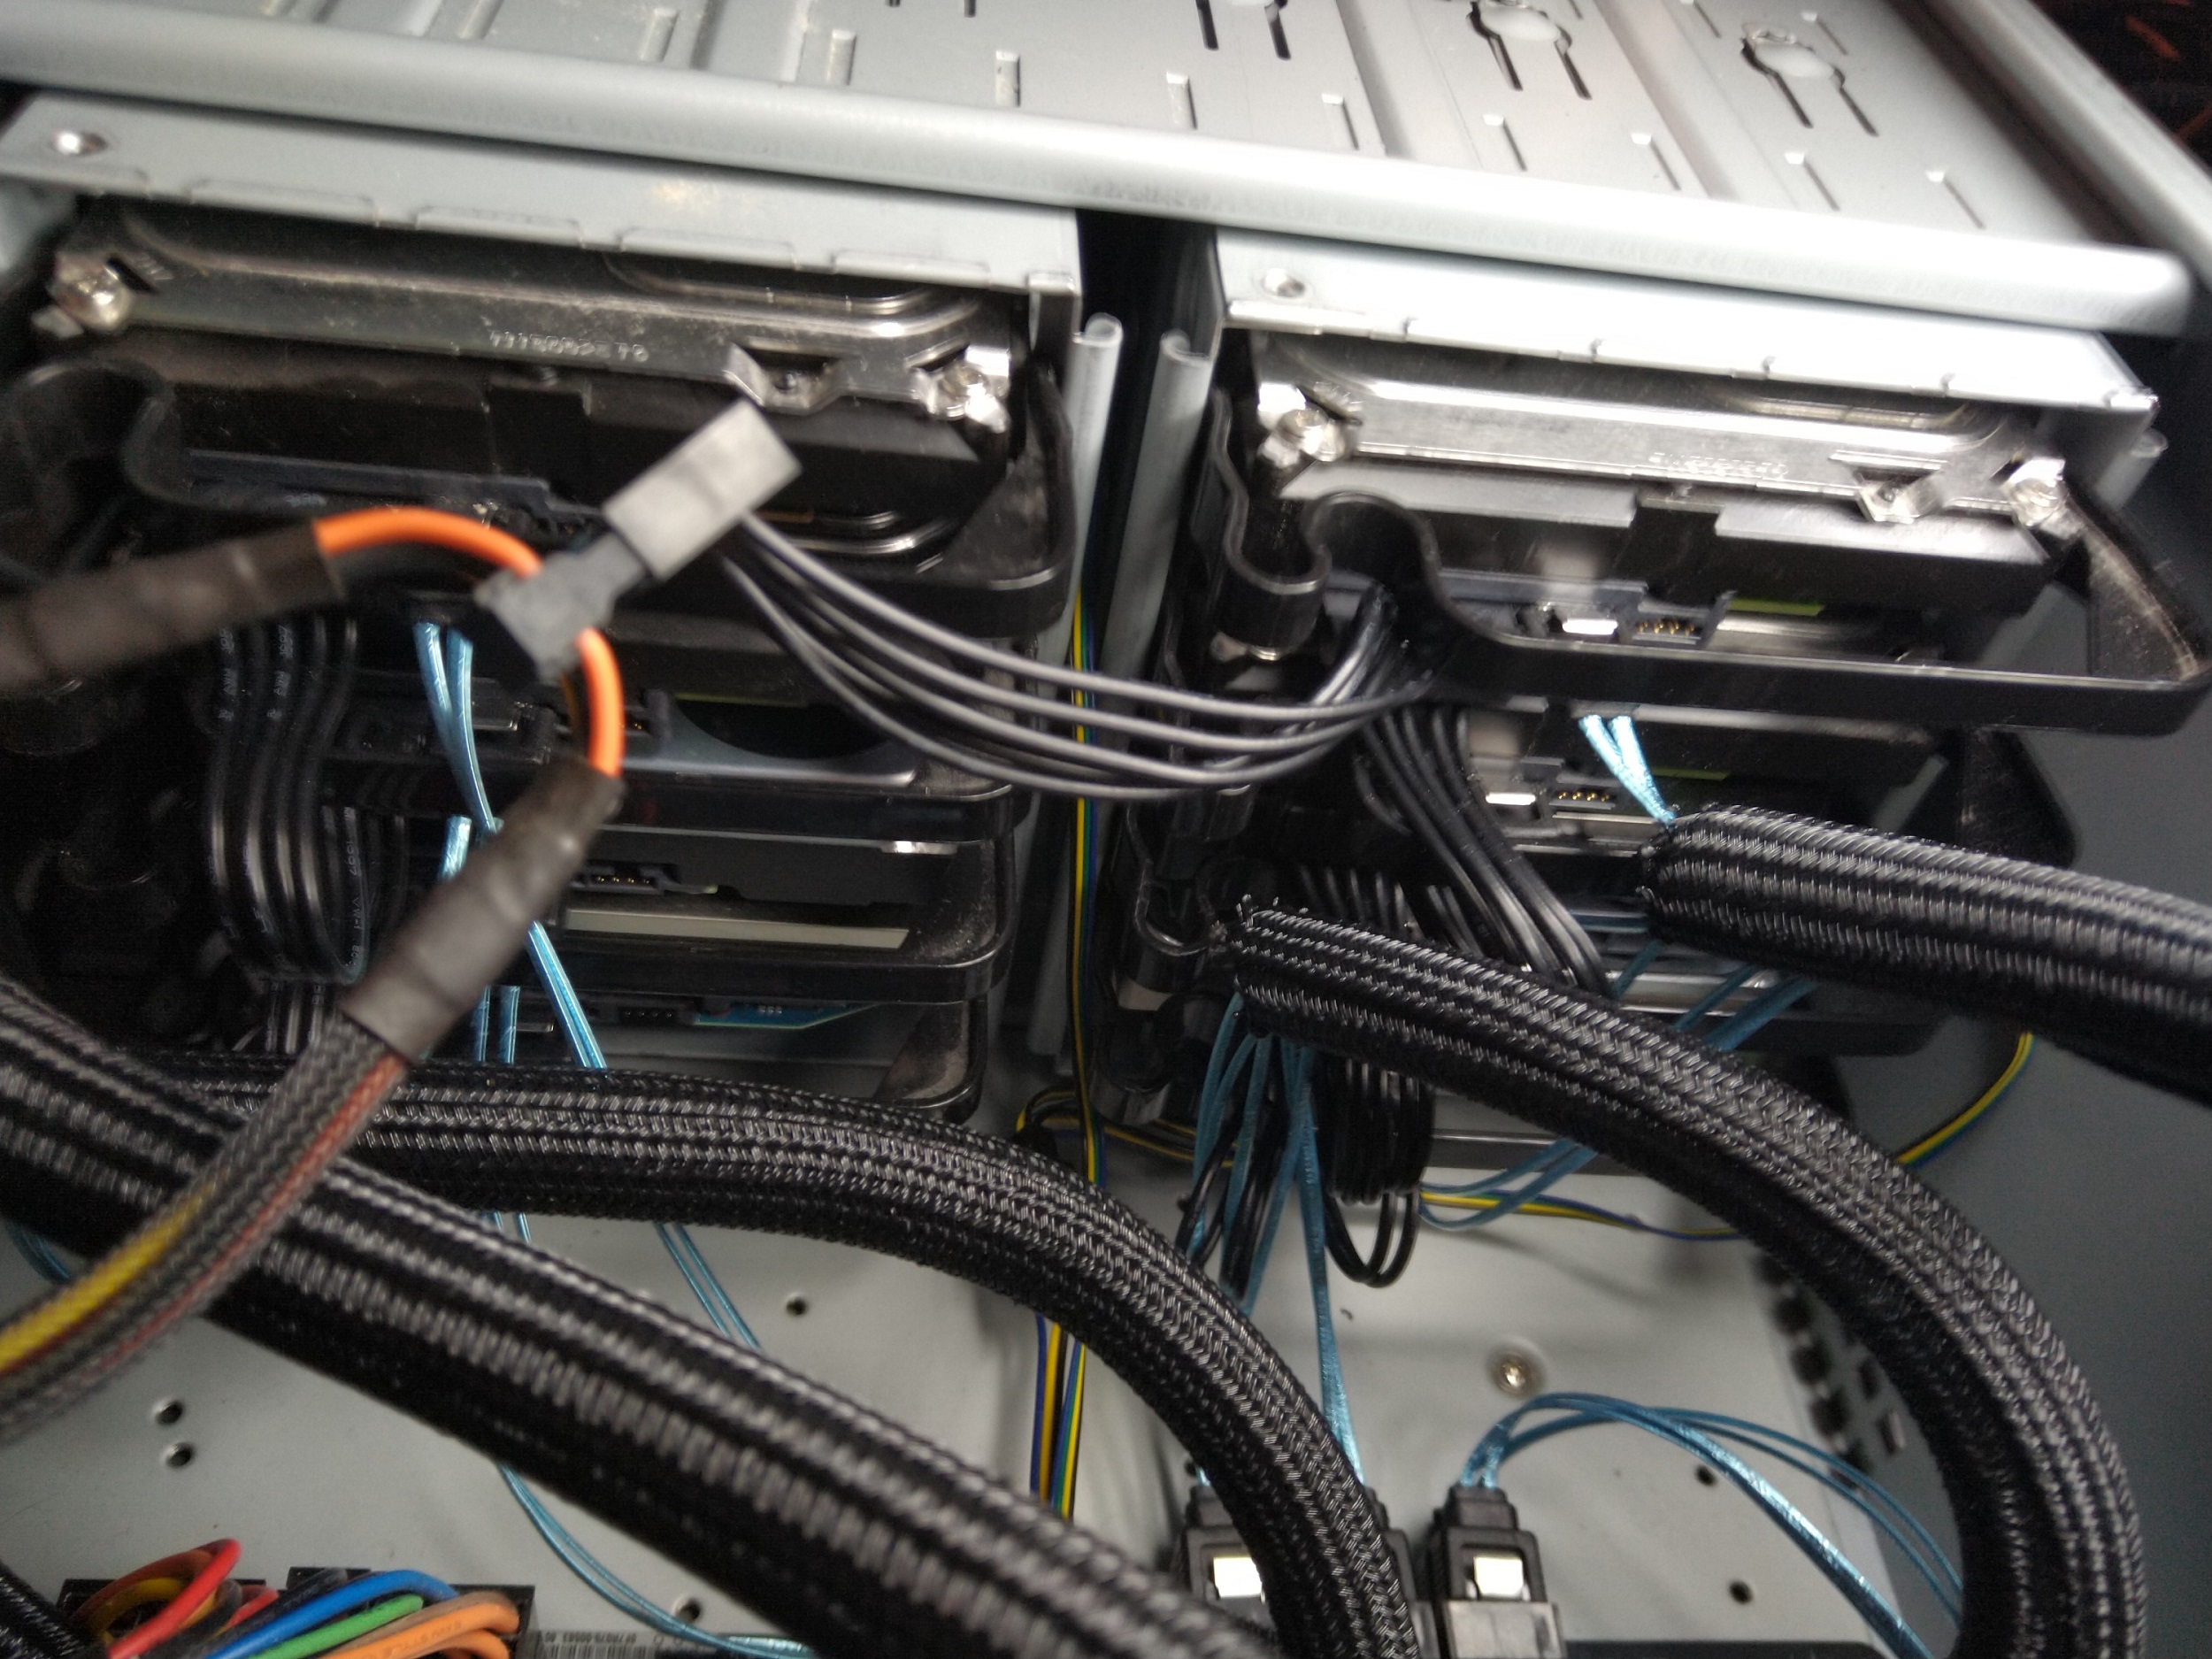 While I was at it, I replaced all of the SATA cables with new thin locking cables, replaced the drive power cables with daisy-chained power cables, and added some cable sheathing so that the cable management is much cleaner rather than a total rat’s nest.